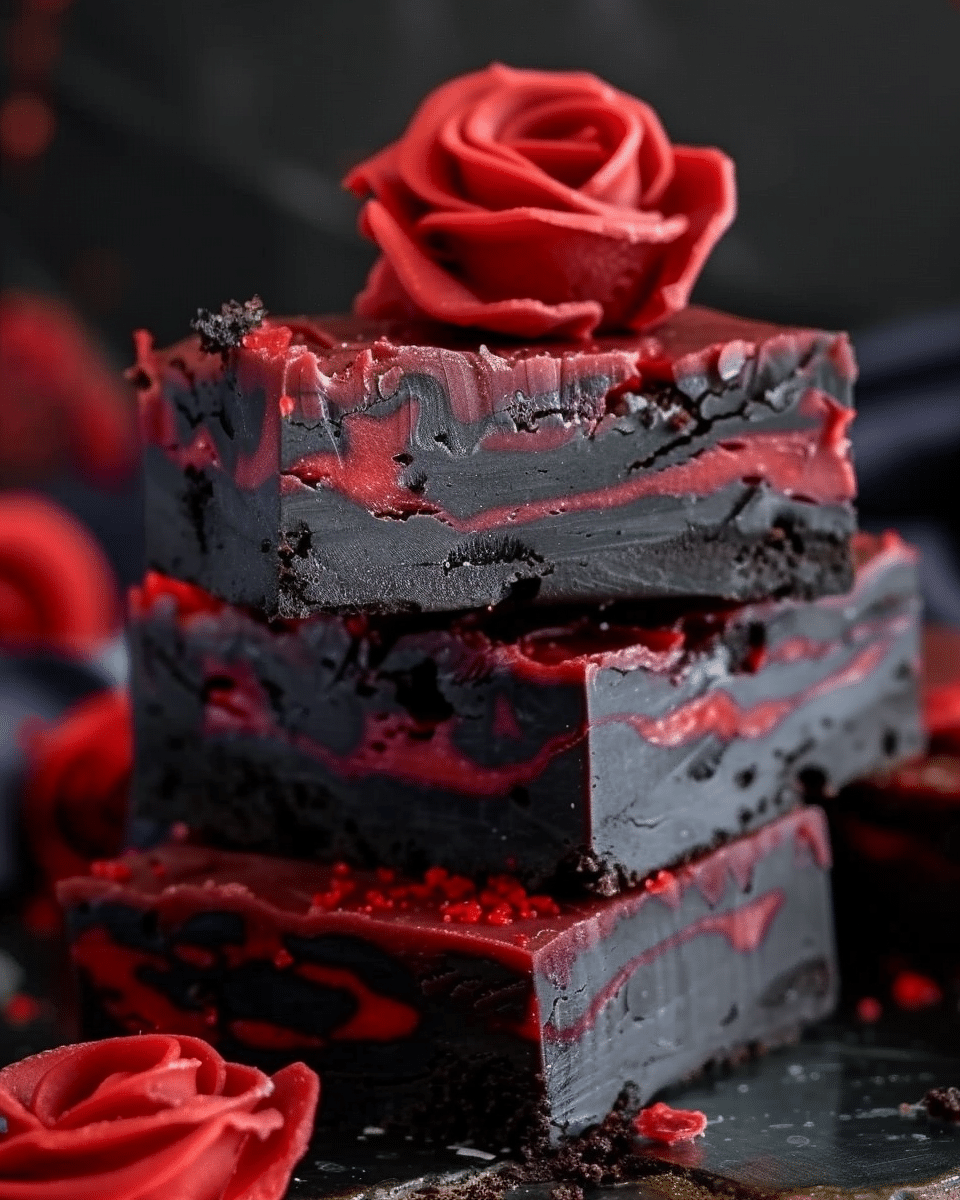
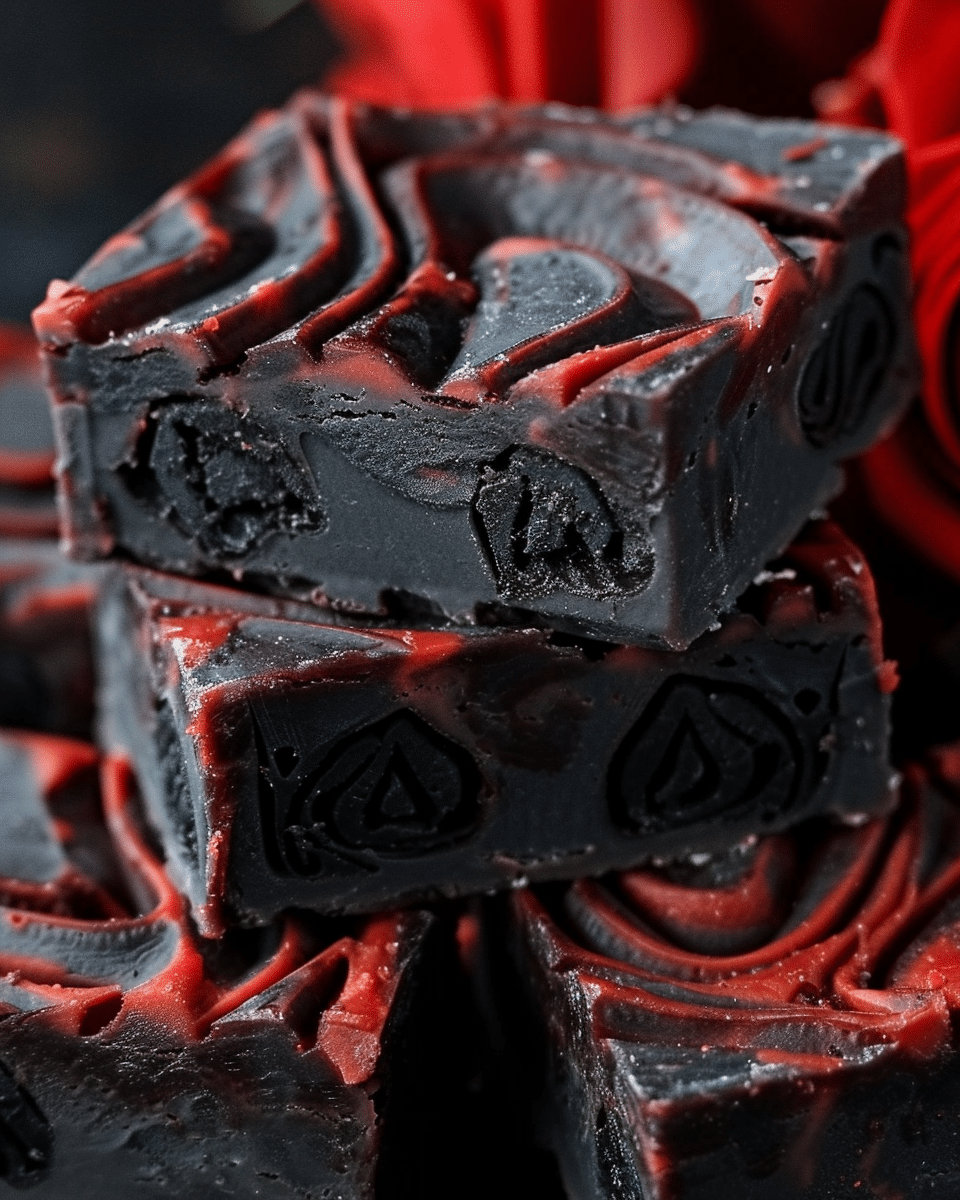
This Vampire Fudge is a wickedly fun and easy Halloween treat that’s as spooky as it is sweet. With just three ingredients, this no-fail fudge recipe gives off dramatic vampire vibes thanks to its deep black and bold red swirls. I love how simple it is to throw together with no candy thermometer or complicated steps—just a microwave and some Halloween spirit.
Why You’ll Love This Recipe
I like that this fudge delivers big visual impact with minimal effort. It’s great for Halloween parties, spooky movie nights, or as a fun treat to make with kids. The black and red swirls bring a creepy vibe without being scary, and it tastes rich and creamy thanks to the combo of candy melts and frosting. Plus, I don’t need to stress about exact temperatures or specialty tools—this is Halloween fun made easy.
Ingredients
(Here’s a tip: Check out the full list of ingredients and measurements in the recipe card below.)
-
Cream cheese frosting
-
Black candy melts
-
Red candy melts
Directions
-
I lightly grease an 8″x8″ square pan and line it with parchment paper in a criss-cross (+) pattern to make it easier to lift the fudge out later.
-
I place the black candy melts in one microwave-safe bowl and the red candy melts in another.
-
I microwave each bowl separately for about 2 minutes, stopping every 30 seconds to stir, making sure the melts don’t overcook or burn.
-
While those cool slightly, I remove the lid and foil from the cream cheese frosting and microwave it for 45 seconds.
-
I divide the warm frosting evenly between the red and black melts and stir each vigorously until smooth and fully blended.
-
I pour alternating dollops of red and black fudge mixture into the prepared pan, layering them randomly.
-
Once all the mixture is in the pan, I run a knife through the fudge to swirl the colors into a marbled pattern.
-
I refrigerate the pan until the fudge is firm, then lift it out using the parchment and cut it into pieces.
Servings and timing
This recipe makes about 25 to 36 squares, depending on how I cut them. If I cut 5 rows by 5 rows, I get 25 pieces. If I go with 6 rows by 6 rows, I get 36 smaller squares. It takes about 10 minutes to prepare and about 2 hours to fully chill and set in the refrigerator.
Variations
If I want a richer black color, I add a few drops of oil-based black icing dye to the black candy melts—but never water-based dye, which can seize the chocolate. For firmer fudge, I simply increase the amount of candy melts slightly. And when I don’t have black or red melts on hand, I’ve substituted dark chocolate and red-colored melts or used different Halloween-themed colors like orange and purple.
Storage/reheating
I store the fudge in an airtight container in the refrigerator, where it stays fresh for up to two weeks. It can also be frozen for longer storage—just wrap individual pieces in plastic wrap and place them in a freezer-safe container. I never store it at room temperature because the frosting base makes it too soft. There’s no reheating required—it’s ready to enjoy straight from the fridge or after a few minutes at room temperature.
FAQs
Can I use regular food coloring instead of oil-based dye?
I avoid regular water-based food coloring because it can cause the candy melts to seize. Oil-based icing dyes are the best option for achieving deep, rich colors without ruining the texture.
What kind of frosting works best?
I usually stick with cream cheese frosting because it adds a nice richness, but vanilla frosting can work too. I just make sure not to overload one color with frosting, or the fudge won’t set properly.
How long does the fudge take to set?
I let it chill for about 2 hours in the fridge until it’s firm. For best results, I prepare it earlier in the day or even the night before so it has plenty of time to set.
Can kids help make this?
Definitely. Older kids can make the entire recipe on their own, and younger kids love helping pour the colors and swirl them. It’s a great Halloween kitchen activity.
Do I need a candy thermometer?
Nope! That’s one of the things I like best about this recipe—it’s microwave-based and doesn’t require any precise temperature control.
Conclusion
Vampire Fudge is a hauntingly fun and festive treat that I look forward to making every Halloween. It’s rich, dramatic, and easy enough to whip up last minute. Whether I’m sharing it at a party or packing it up as spooky gifts, it never fails to impress. With just a few ingredients and a little creativity, I get a creepy-cute dessert that tastes as good as it looks.
Print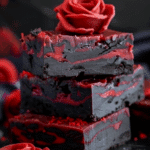
Vampire Fudge Recipe
- Total Time: 2 hours 10 minutes (including chilling time)
- Yield: 25 to 36 pieces
- Diet: Vegetarian
Description
This Vampire Fudge is a spooky, no-fail Halloween treat made with just three ingredients and no candy thermometer. Swirled with bold red and black colors, it’s rich, creamy, and perfect for festive parties or fun kitchen activities with kids.
Ingredients
1 (16 oz) tub cream cheese frosting
2 cups black candy melts
2 cups red candy melts
Instructions
- Lightly grease an 8″x8″ square pan and line it with parchment paper in a criss-cross pattern for easy removal.
- Place black candy melts in one microwave-safe bowl and red candy melts in another.
- Microwave each bowl separately for about 2 minutes, stirring every 30 seconds until melted and smooth.
- Microwave the cream cheese frosting (with lid and foil removed) for 45 seconds until warm.
- Divide the frosting evenly between the two bowls of melted candy and stir each mixture until fully blended.
- Dollop the red and black mixtures alternately into the prepared pan in a random pattern.
- Use a knife to swirl the colors together, creating a marbled effect.
- Refrigerate the fudge for about 2 hours or until firm.
- Once set, lift the fudge out of the pan using the parchment paper and cut into squares.
Notes
Use oil-based food coloring if enhancing the black color—never water-based dyes.
Store fudge in the refrigerator; it’s too soft for room temperature storage.
Freeze extra pieces for longer storage, wrapped tightly.
Try other Halloween colors like orange and purple for different variations.
- Prep Time: 10 minutes
- Cook Time: 0 minutes
- Category: Dessert
- Method: No-Bake
- Cuisine: American
Nutrition
- Serving Size: 1 piece
- Calories: 140
- Sugar: 17g
- Sodium: 50mg
- Fat: 7g
- Saturated Fat: 5g
- Unsaturated Fat: 2g
- Trans Fat: 0g
- Carbohydrates: 19g
- Fiber: 0g
- Protein: 1g
- Cholesterol: 0mg

