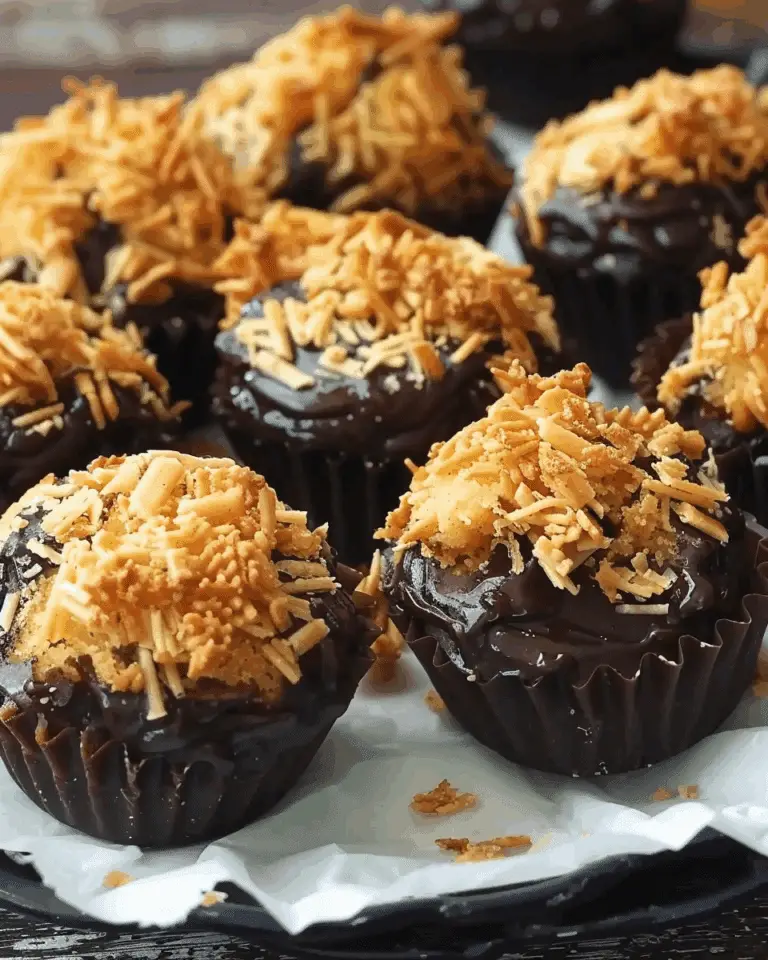
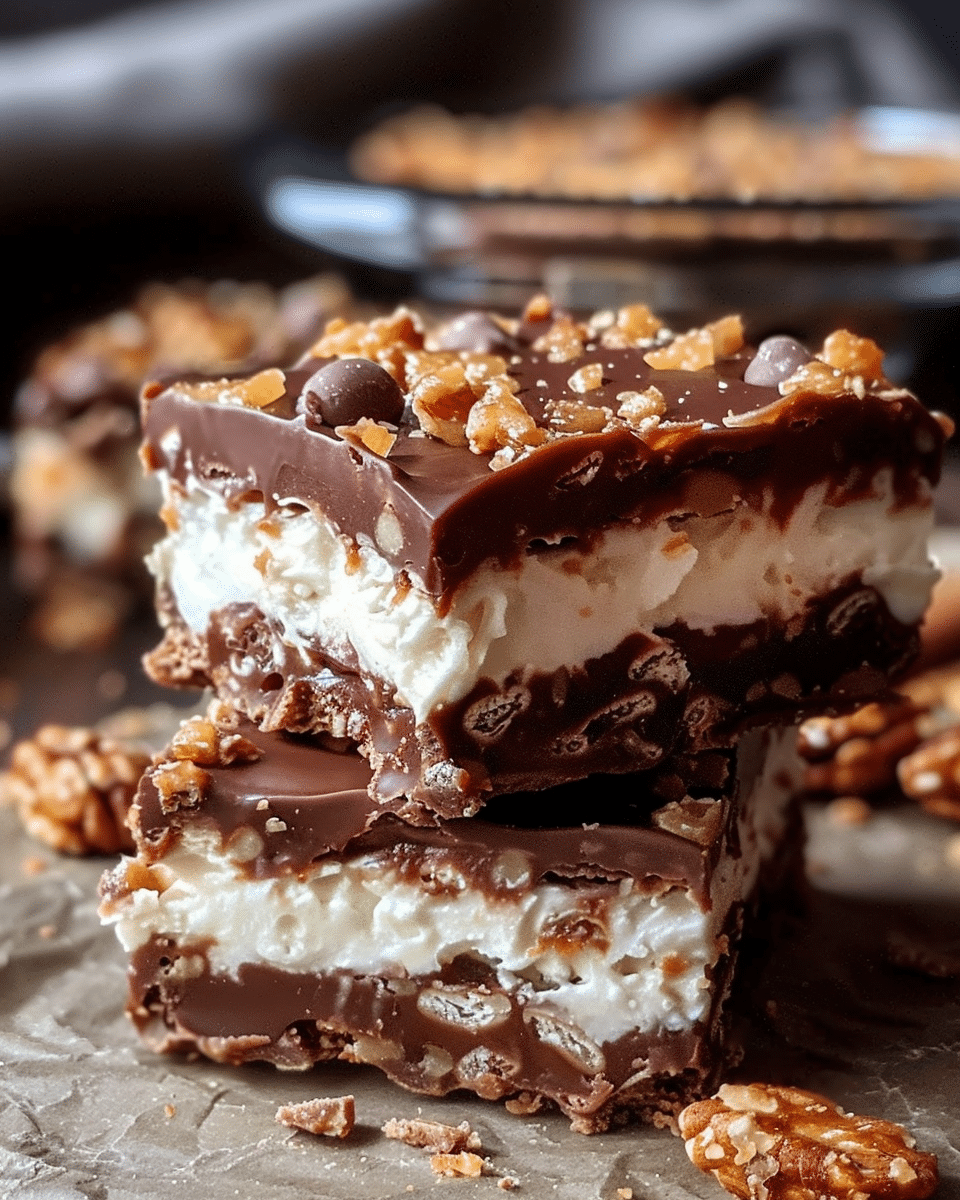
Homemade 3 Musketeers Bars Light are a healthier, simplified version of the classic candy bar I grew up loving. With a fluffy chocolate center and a smooth chocolate coating, these bars deliver all the nostalgic flavor with fewer ingredients and less sugar. I love making them when I want a sweet treat that satisfies my craving without going overboard.
Why You’ll Love This Recipe
I love this recipe because it’s surprisingly easy to make and uses simple, better-for-me ingredients. The filling is light, airy, and chocolatey—just like the original, but without all the additives. Plus, I can control the sweetness and even adjust it for different diets. Whether I’m sharing them or keeping a batch in the freezer for myself, they’re always a hit.
Ingredients
(Here’s a tip: Check out the full list of ingredients and measurements in the recipe card below.)
-
Semi-sweet or dark chocolate chips (or sugar-free chocolate)
-
Light whipped topping (like Lite Cool Whip or a whipped coconut cream alternative)
-
Chocolate coating or melted chocolate for dipping (can use sugar-free or dark chocolate)
-
Optional: pinch of salt or a few drops of vanilla extract for extra flavor
Directions
-
I melt the chocolate chips in a microwave-safe bowl in 30-second intervals, stirring between each until smooth.
-
I let the melted chocolate cool slightly, then gently fold in the light whipped topping until fully combined and fluffy. I work quickly to keep the mixture airy.
-
I line a small loaf pan with parchment paper and spread the mixture evenly into the pan, smoothing the top.
-
I freeze the filling for at least 1–2 hours, or until firm enough to cut into bars.
-
Once firm, I remove the mixture from the pan and cut it into bar-sized pieces using a sharp knife.
-
I melt the dipping chocolate and dip each bar until coated, then place them on a lined tray.
-
I freeze or refrigerate the bars until the coating sets, then store them chilled or frozen until ready to enjoy.
Servings and timing
This recipe makes about 8 to 10 mini bars and takes around 15 minutes to prep, plus 1–2 hours to chill. It’s perfect for making ahead and grabbing whenever I want a light chocolate fix.
Variations
Sometimes I use sugar-free chocolate chips and keto whipped topping for a low-carb version. For added texture, I sprinkle crushed nuts or sea salt over the top before the chocolate sets. If I’m feeling festive, I drizzle white chocolate on top or add a few drops of peppermint extract to the filling during the holidays.
storage/reheating
I store these bars in an airtight container in the fridge for up to 5 days or freeze them for up to 1 month. I like eating them straight from the freezer—they’re firm and refreshing with a perfect chewy bite.
FAQs
Can I use homemade whipped cream instead of store-bought?
Yes, I can use stabilized whipped cream, but I make sure it’s stiff enough to fold in without deflating too much. Light whipped topping helps keep the texture consistent.
What chocolate is best for the coating?
I prefer dark or semi-sweet chocolate, especially if I’m cutting back on sugar. I also melt sugar-free chocolate chips with a bit of coconut oil for an easy, glossy coating.
Can I make this recipe dairy-free?
Yes, I use dairy-free chocolate and a plant-based whipped topping. Coconut whipped topping works great for this.
Why did my filling turn flat?
That can happen if the whipped topping deflates while mixing. I fold it gently into cooled chocolate and work quickly to keep it light and fluffy.
Do these taste exactly like the original candy bars?
They’re not an exact match, but I find they capture the soft texture and chocolate flavor really well—and they’re much lighter and fresher tasting.
Conclusion
Homemade 3 Musketeers Bars Light are a fun, easy way to enjoy a classic candy bar in a better-for-me version. With just a few ingredients and no baking required, they’re a treat I keep in my freezer for whenever I want a guilt-free indulgence. Once I made them, I knew they’d be a staple in my homemade snack lineup.
Homemade 3 Musketeers Bars Light
5 Stars 4 Stars 3 Stars 2 Stars 1 Star
No reviews
- Author: Evee
- Total Time: 1 hour 15 minutes (including chilling)
- Yield: 8 to 10 bars
- Diet: Low Calorie
Description
Homemade 3 Musketeers Bars Light are a simple, better-for-you version of the nostalgic candy bar. Made with whipped topping and chocolate, these fluffy, chocolatey treats are low in sugar, easy to make, and perfect for a guilt-free indulgence.
Ingredients
1 cup semi-sweet or dark chocolate chips (or sugar-free chocolate chips)
1 1/2 cups light whipped topping (like Lite Cool Whip or whipped coconut cream)
1 cup chocolate coating or melted chocolate for dipping
Optional: pinch of salt
Optional: 1/2 tsp vanilla extract
Instructions
- Melt chocolate chips in a microwave-safe bowl in 30-second intervals, stirring between each until smooth.
- Let chocolate cool slightly, then gently fold in light whipped topping until combined and fluffy. Work quickly to keep the mixture airy.
- Line a small loaf pan with parchment paper and spread the mixture evenly inside. Smooth the top.
- Freeze for 1–2 hours, or until firm enough to cut.
- Remove from pan and cut into 8–10 bars using a sharp knife.
- Melt dipping chocolate and coat each bar. Place on parchment-lined tray.
- Refrigerate or freeze until chocolate coating sets.
Notes
Use sugar-free ingredients for a low-carb or keto version.
Sprinkle crushed nuts or sea salt on top for extra texture.
Add peppermint extract to the filling for a holiday twist.
Use stabilized homemade whipped cream if preferred.
Keep filling light by folding gently and working quickly.
- Prep Time: 15 minutes
- Cook Time: 0 minutes
- Category: Dessert
- Method: No-Bake
- Cuisine: American
Nutrition
- Serving Size: 1 bar
- Calories: 140
- Sugar: 9g
- Sodium: 30mg
- Fat: 9g
- Saturated Fat: 5g
- Unsaturated Fat: 3g
- Trans Fat: 0g
- Carbohydrates: 14g
- Fiber: 1g
- Protein: 1g
- Cholesterol: 0mg

